Staff members should refer to Manage Reports for further information about running reports and so on.
Users with the Reports Administrator role can use the reporting functionality in Ontrack Staff Hub, provided the Use reports cradle or reports viewer to display reports in Ontrack? setting on the Reports and Reporting Services screen is set to 'Report Viewer'.
Use Ontrack Staff Hub to:
-
Click the Reports option in the header menu.
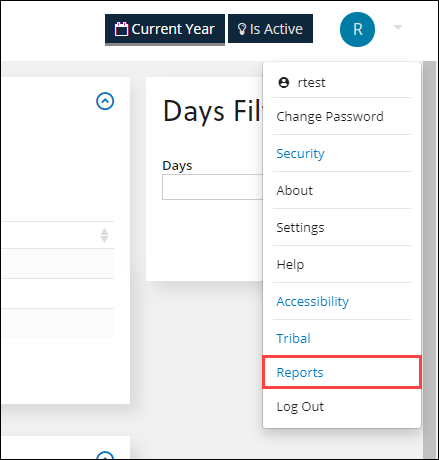
The Reports screen is displayed.
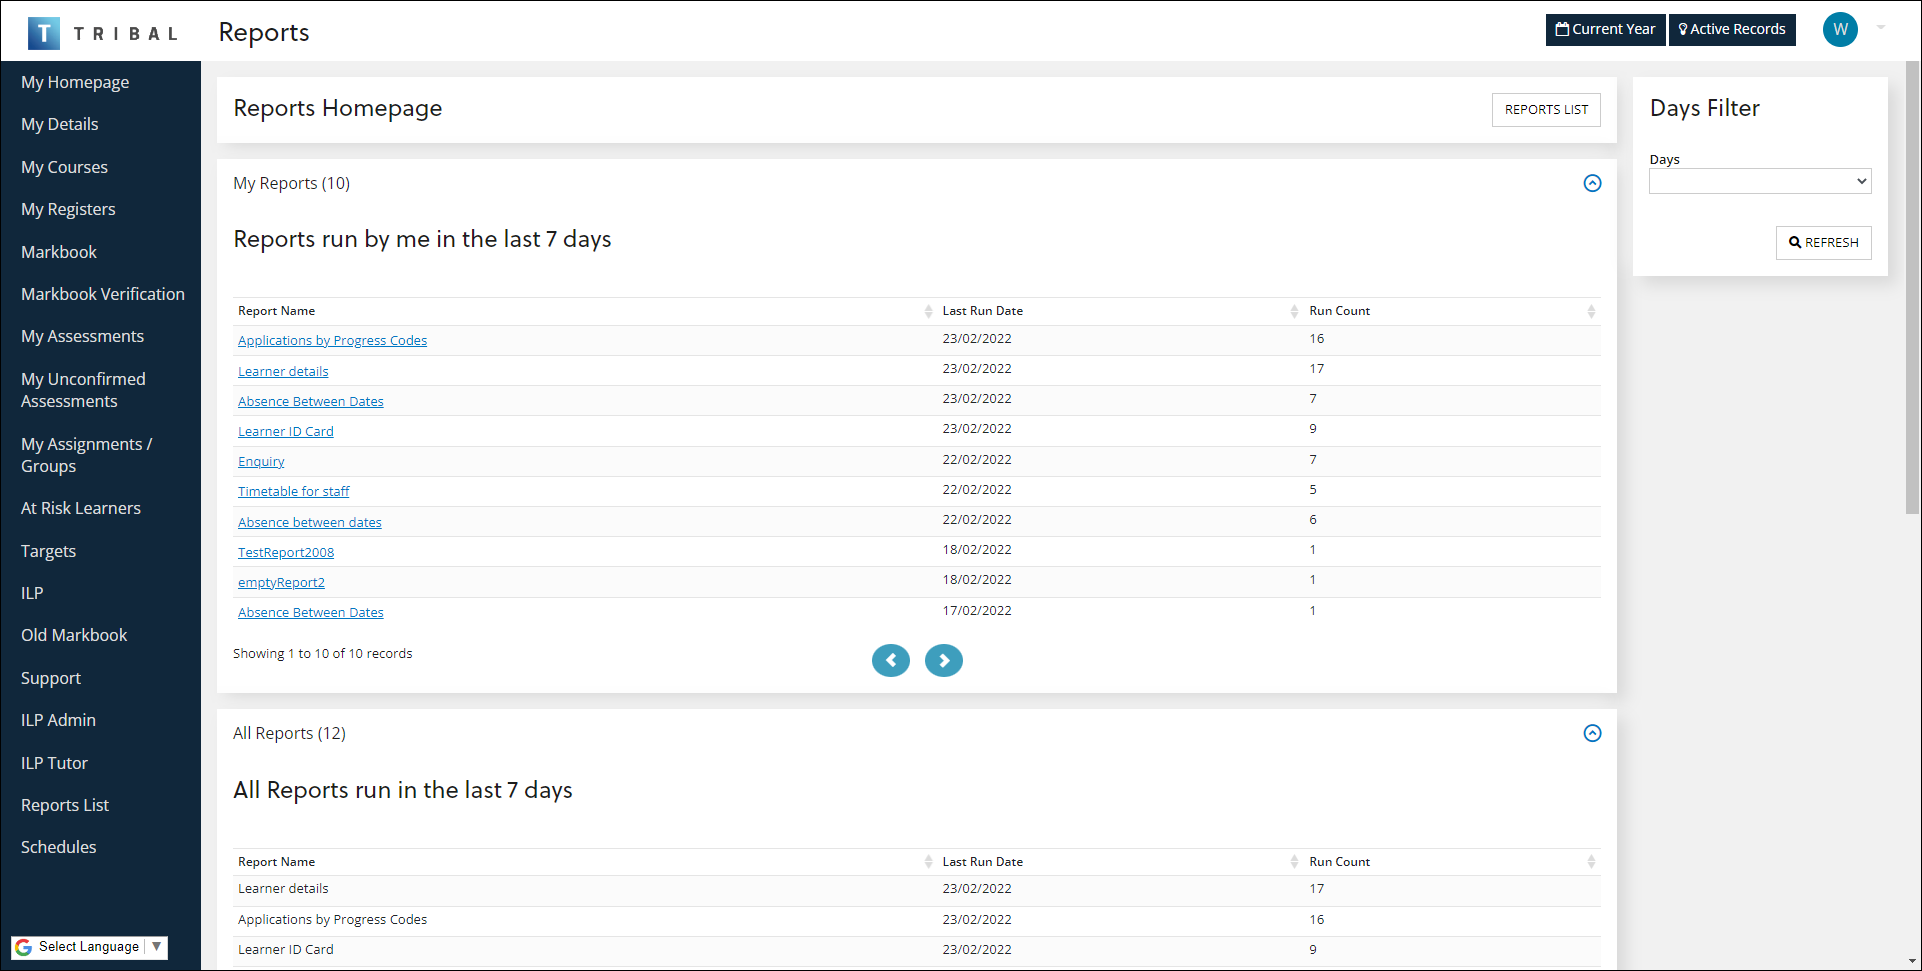
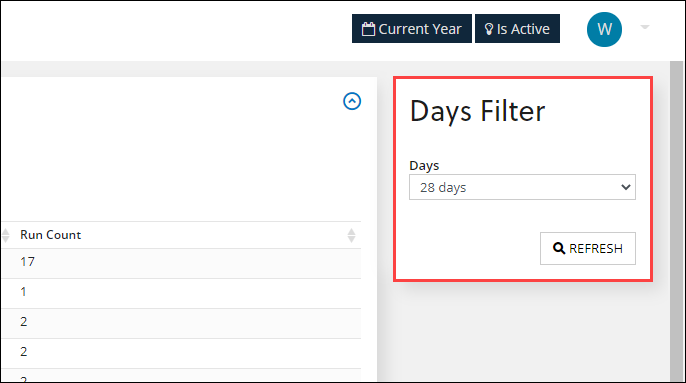
By default, this displays your reports, all reports, and reports not run in the last seven days. This can be amended by selecting from the Days filter and then clicking the Refresh button in the Days Filter panel, if required.
-
Select the relevant report to run it.
Only reports in blue can be clicked.
To view all the reports in a folder structure view:
-
Open the Reports screen. Refer to View recently run reports for further information.
-
Click the Reports List option in the left-hand panel.

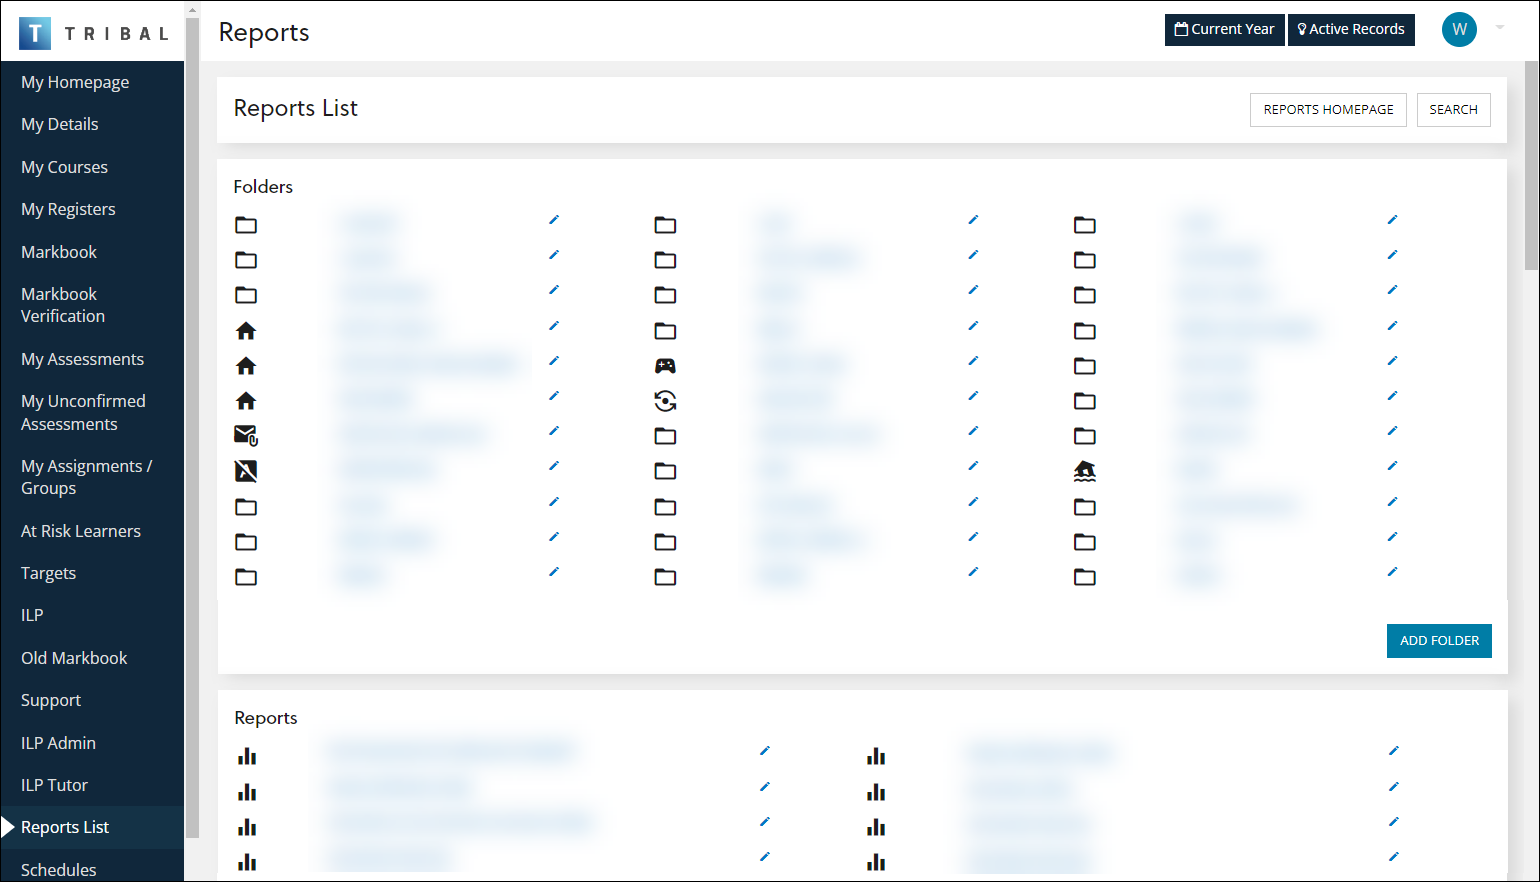
The Reports List screen is displayed, with a list of folders and all your reports.
-
Click a report to view it, or on a folder to display a list of reports in that folder.
The visibility of reports is controlled by the Report visible? check box in the Reports Cradle.
-
Open the Reports screen. Refer to View recently run reports for further information.
-
Click the Reports List option in the left-hand panel.

The Reports List screen is displayed, with a list of folders and all your reports.
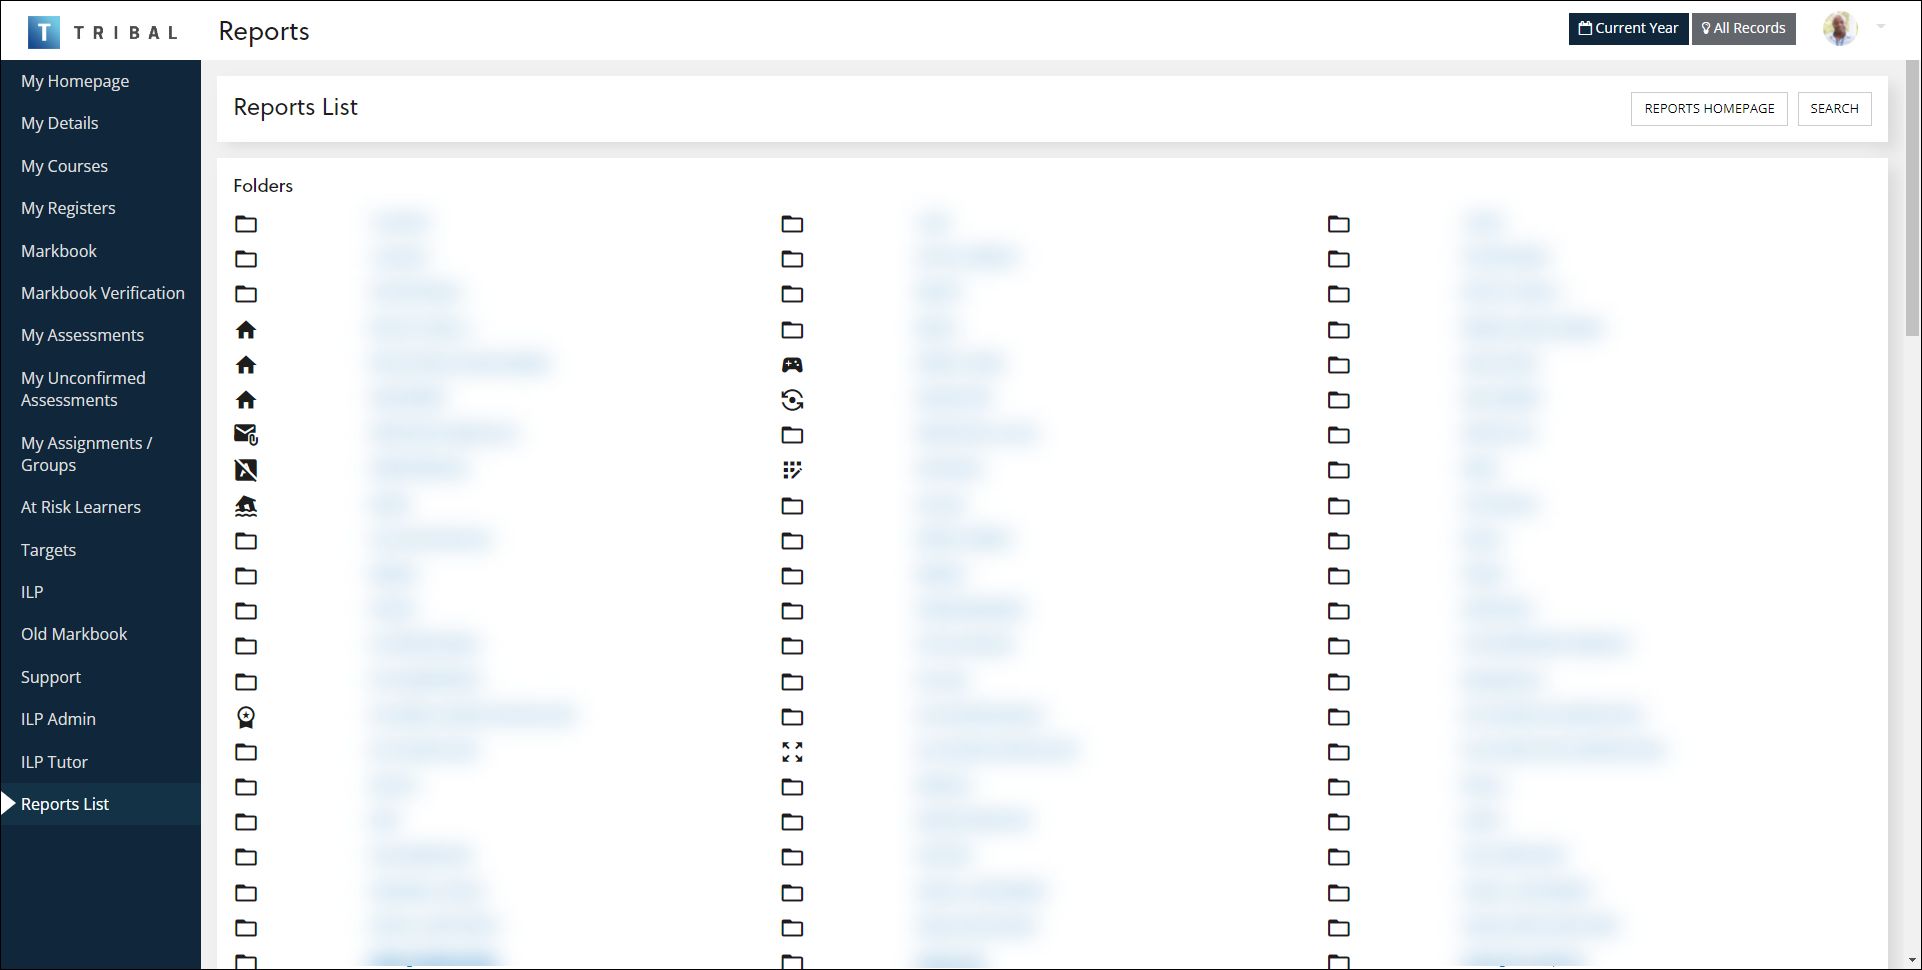
-
Click the SEARCH button.
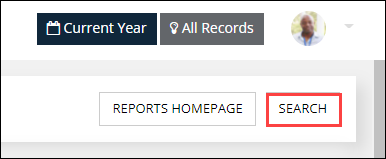
The Report Search screen is displayed.
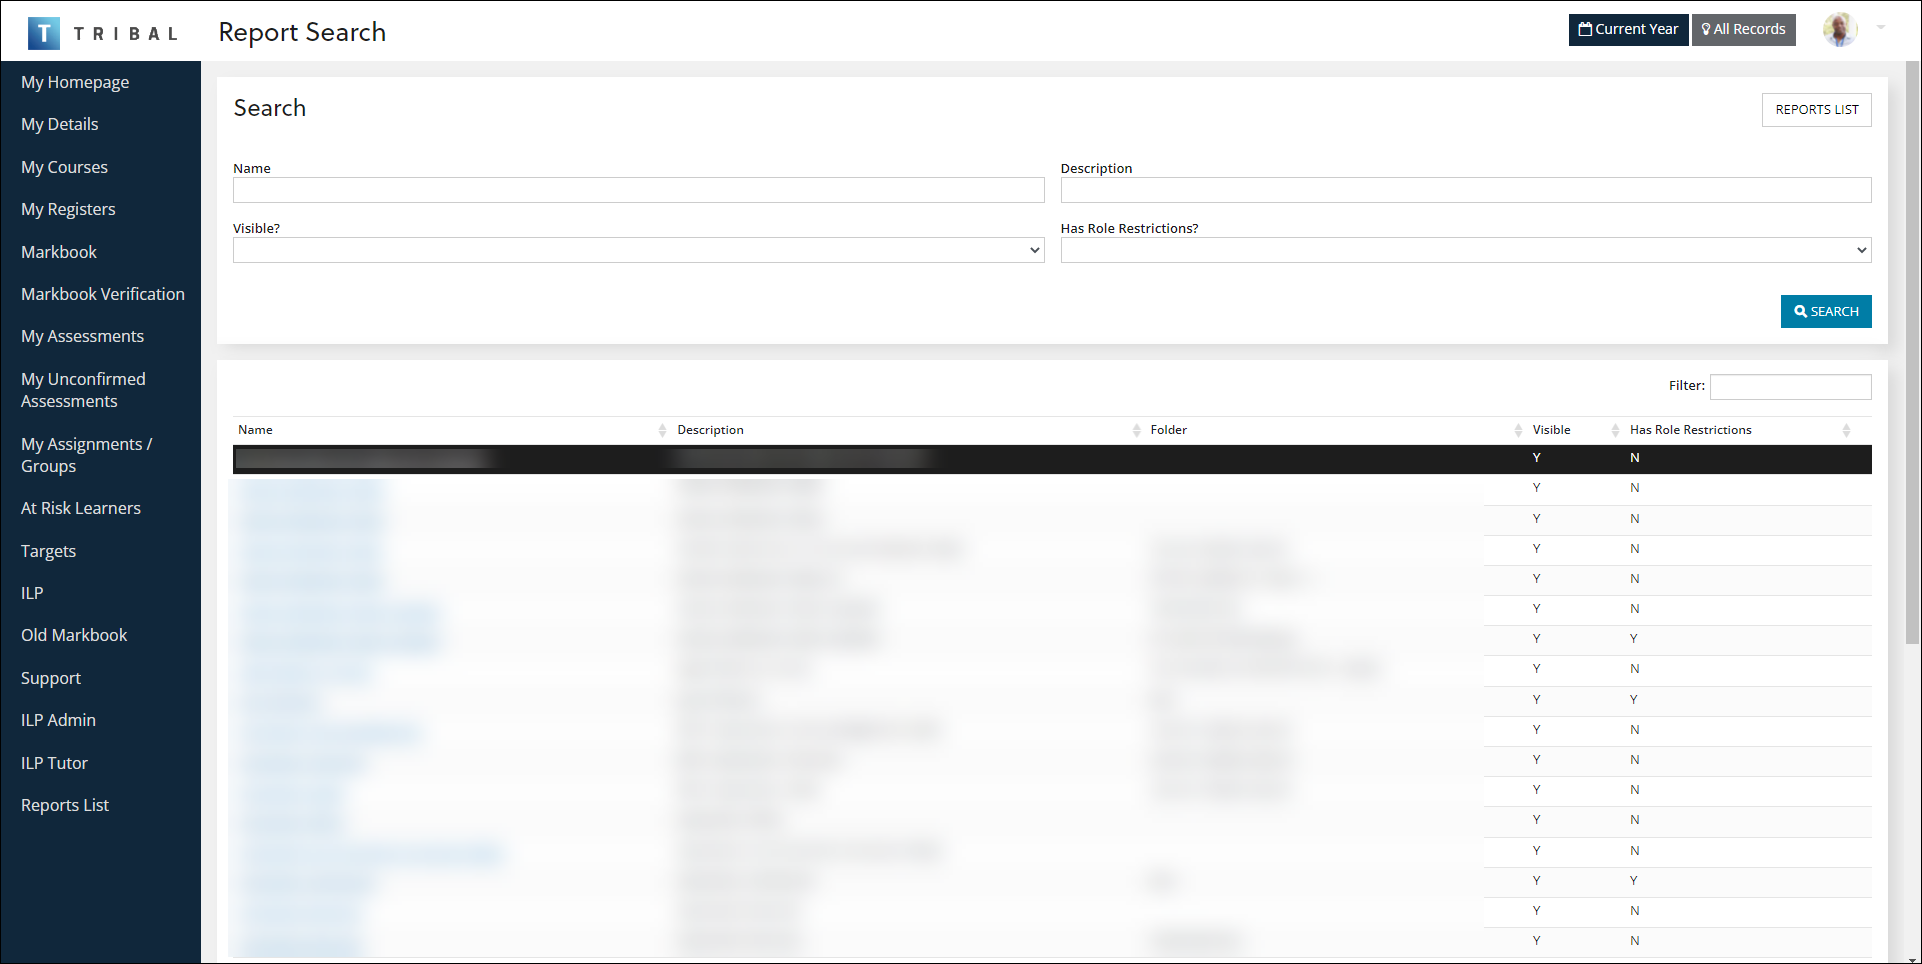
You can search by:
-
Name
-
Description
-
Visible?
-
Has Role Restrictions?
-
-
Enter search criteria. Click the SEARCH button.
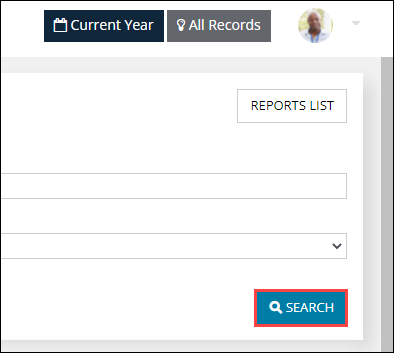
Search results are displayed.
-
Click a report to view it.
You can manage report folders if you have the Reports Administrator role.
To add or edit a report folder:
-
Open the Reports screen. Refer to View recently run reports for further information.
-
Click the Reports List option in the left-hand panel.

The Reports List screen is displayed, with a list of folders and all your reports.

-
Do one of the following:
-
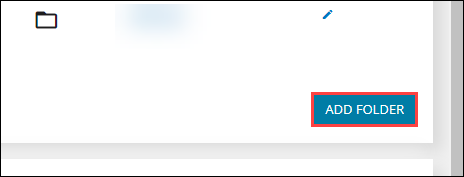
To add a parent folder, click the Add Folder button in the Folders panel.
-
To add a child folder, open an existing folder and then click the Add Folder button.

-
To edit a folder, open an existing folder and then click the Edit Folder button.

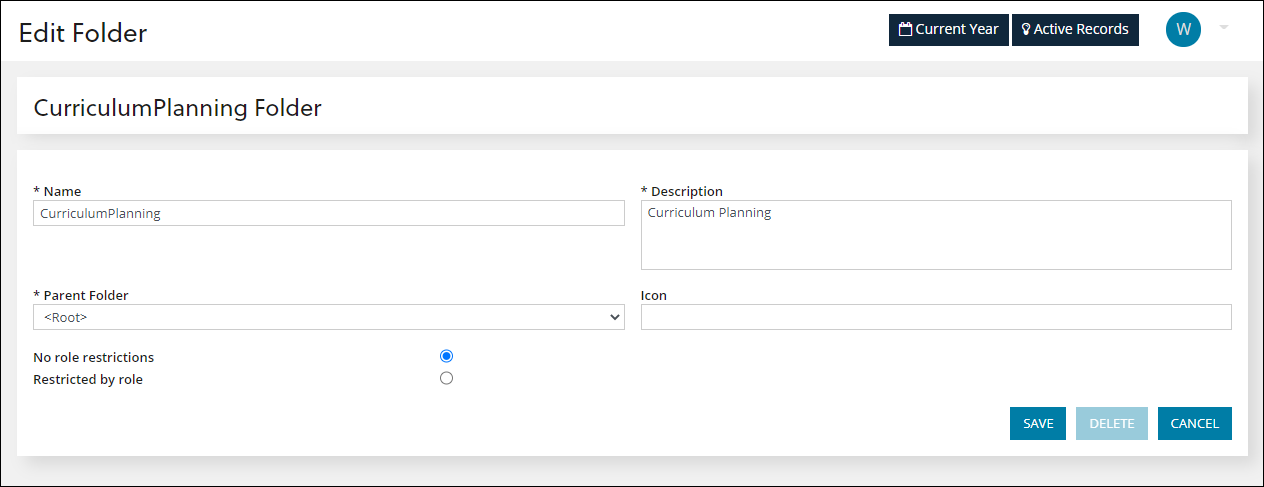
The Add Folder or Edit Folder screen is displayed.
-
-
Enter or edit the relevant details.
The fields on the Add Folder and Edit Folder screen are described in the following table.
| This field | Holds this information... |
|---|---|
| Name | The name of the folder. |
| Description | A description of the folder |
| Parent Folder | The parent folder. Select from the drop-down list. If the folder is top-level, select the '<Root>' option. |
| Icon | The icon to be displayed adjacent to the folder name on the Reports List screen. Select from the drop-down list. |
| No role restrictions/Restricted by role |
Whether access to the folder is controlled by roles. Select the relevant radio button. If you select the 'Restricted by role' radio button, select the relevant role(s) that are granted access to the folder. You can select multiple records using Shift-click (for a series of records), Ctrl-click (for individual records) or Ctrl-A (for all records). |
-
Click Save.
You can add reports configured by your administrators to your list of reports if you have the Reports Administrator role.
To add an existing report:
-
Open the Reports screen. Refer to View recently run reports for further information.
-
Click the Reports List option in the left-hand panel.

The Reports List screen is displayed, with a list of folders and all your reports.

-
In the Reports panel, click the Add Report button.

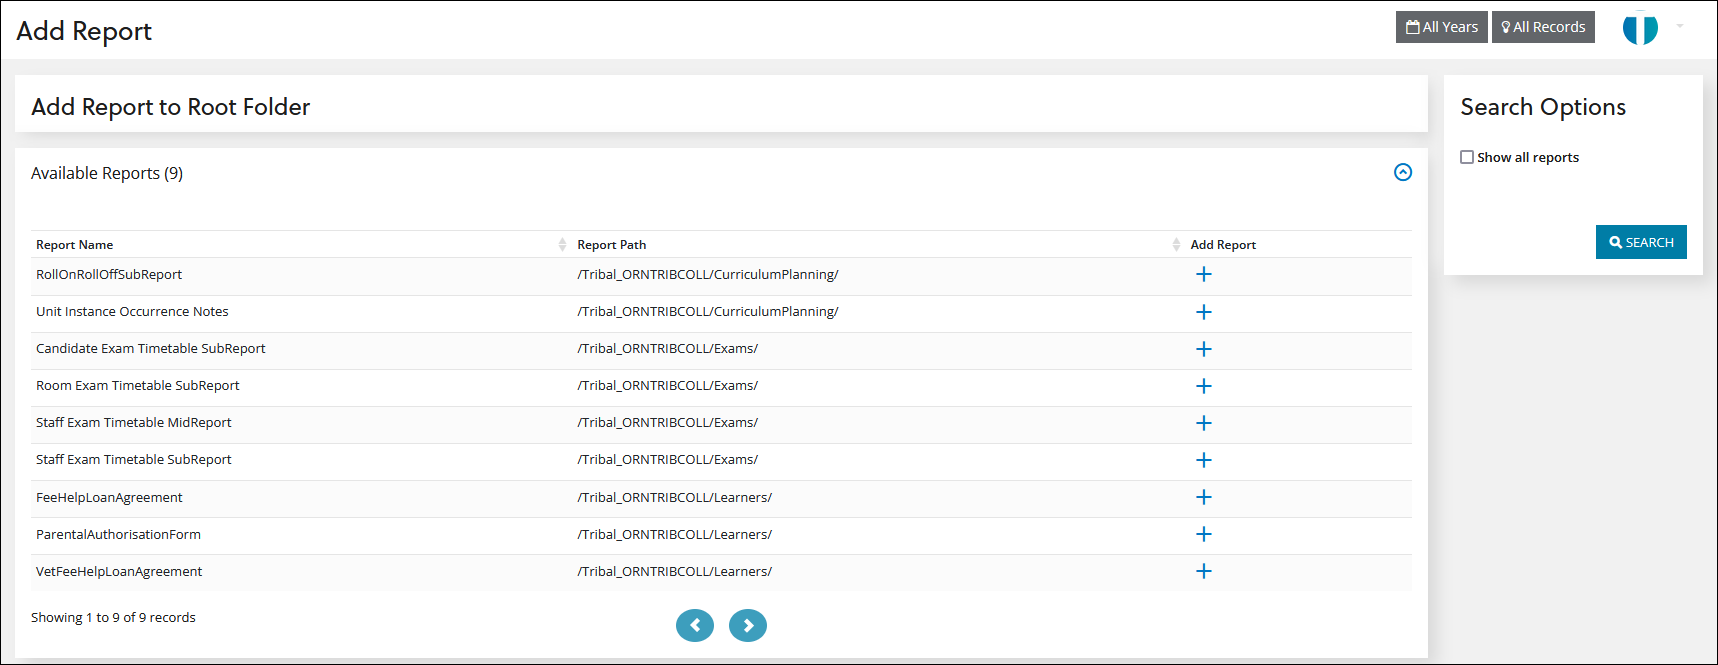
The Add Report to Root Folder screen is displayed.
-
Click the + button adjacent to the report(s) that you want to add.
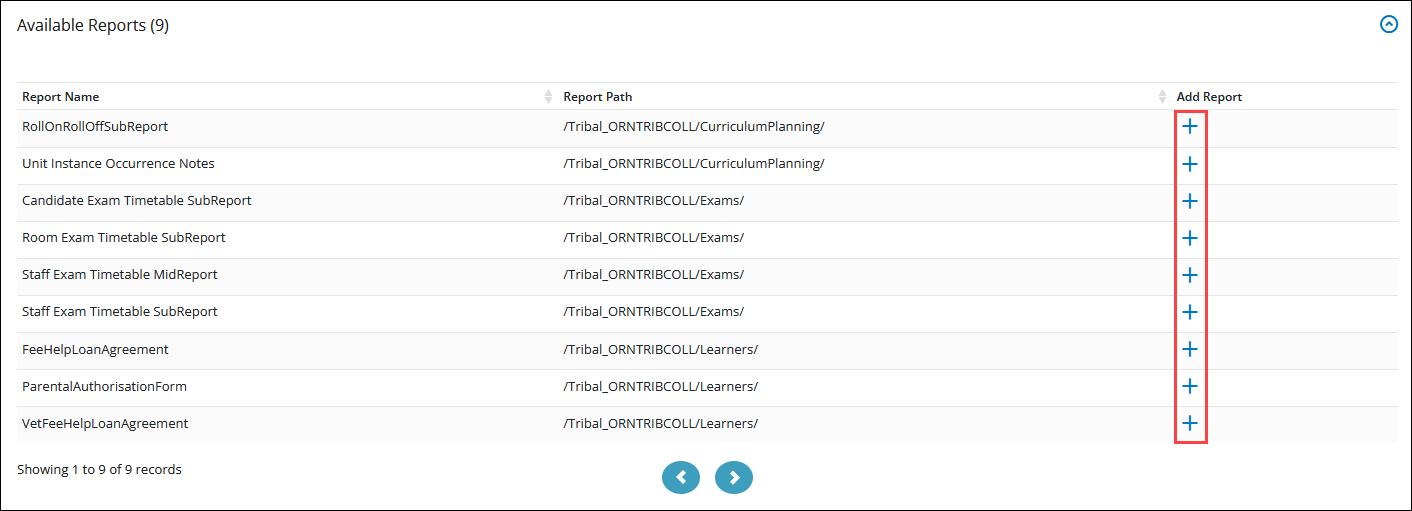
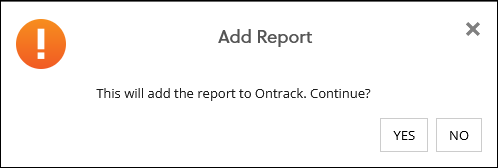
A confirmation message is displayed.
-
Click Yes to confirm the addition.
The Edit Reports screen is displayed, where you can edit any details as required. Refer to Edit reports for further information.
You can edit a report if you have the Reports Administrator role.
To edit a report:
-
Open the Reports screen. Refer to View recently run reports for further information.
-
Click the Reports List option in the left-hand panel.

The Reports List screen is displayed, with a list of folders and all your reports.

-
In the Reports panel, click the Edit Report button adjacent to the relevant report.
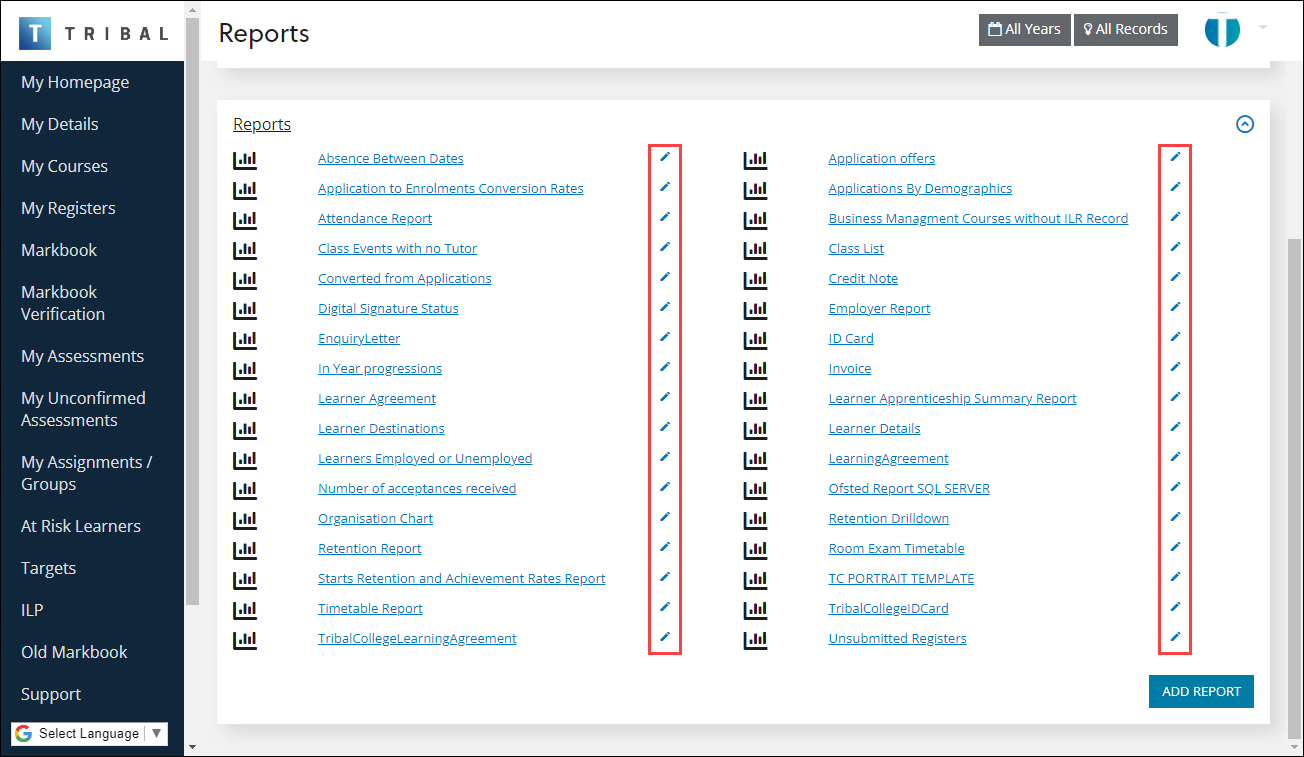
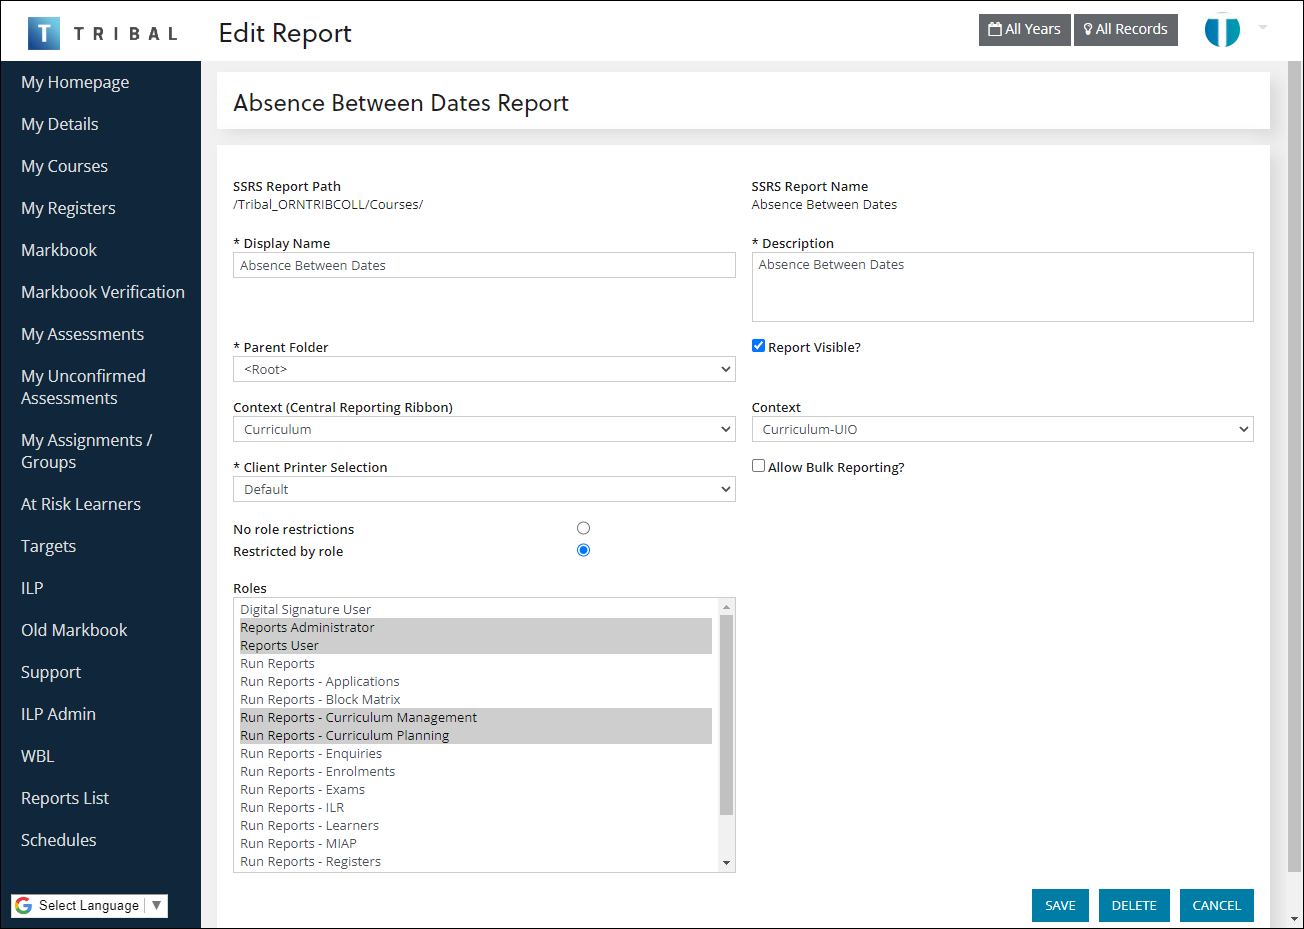
The Edit Report screen is displayed.
-
Edit the relevant details.
The fields on the Edit Report screen are described in the following table.
| This field | Holds this information... |
|---|---|
| SSRS Report Path | The SQL Server Reporting Services path where the report is stored. |
| SSRS Report Name | The SQL Server Reporting Services report name. |
| Display Name | The display name of the report (that is: how it is named on the Reports screen). |
| Description | A description of the report. |
| Parent Folder | The folder that the report belongs to. |
| Report Visible? | Whether the report is visible in EBS Reports. |
| Context (Central Reporting Ribbon) | The context in the EBS Central reporting ribbon where the report is displayed. Select from the drop-down list. |
| Context | The page in Central where the report is displayed. Select from the drop-down list. |
| Client Printer Selection | Whether to set the report to use the default printer or select a printer on generation. |
| Allow Bulk Reporting | Whether the report can be used in bulk reporting. |
| Save Report after Running? |
Whether to save the report to Learner Docs & Comms after it is run. This option is only available for learner reports. |
| Save Format |
The format to save the report as. This is only applicable if the 'Save Report after Running?' check box is selected. This option is only available for learner reports. |
| Allow Digital Signatures? |
Whether to allow Digital Signatures. This is only applicable if the 'Save Report after Running?' check box is selected and you have the Digital Signatures licence. This option is only available for learner reports. |
| No role restrictions/Restricted by role |
Whether access to the report is controlled by roles. Select the relevant radio button. If you select the 'Restricted by role' radio button, select the relevant role(s) that are granted access to the report. You can select multiple records using Shift-click (for a series of records), Ctrl-click (for individual records) or Ctrl-A (for all records). |
-
Click Save.
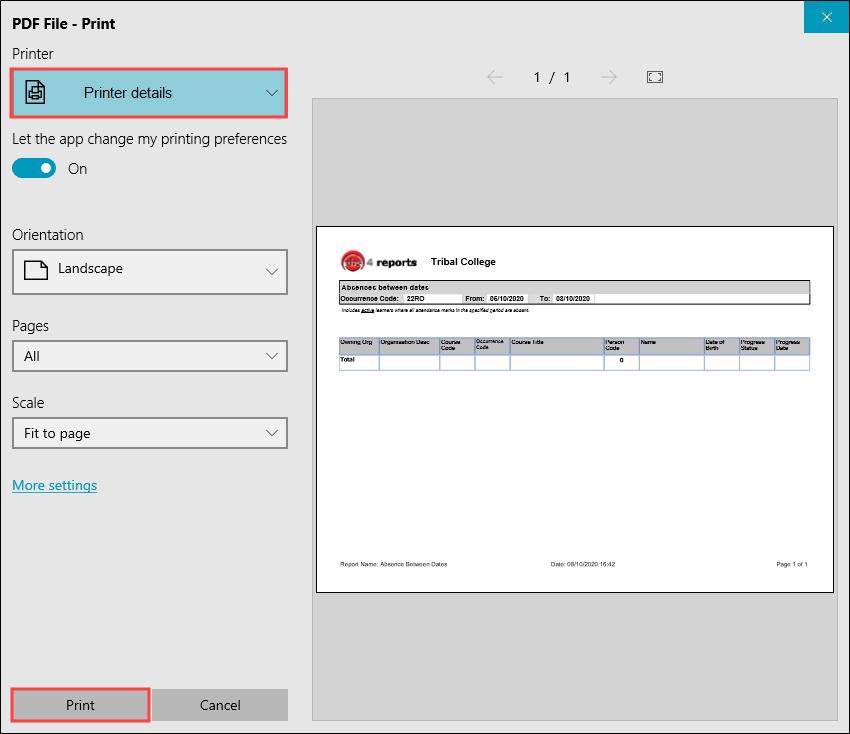
To print a report:
-
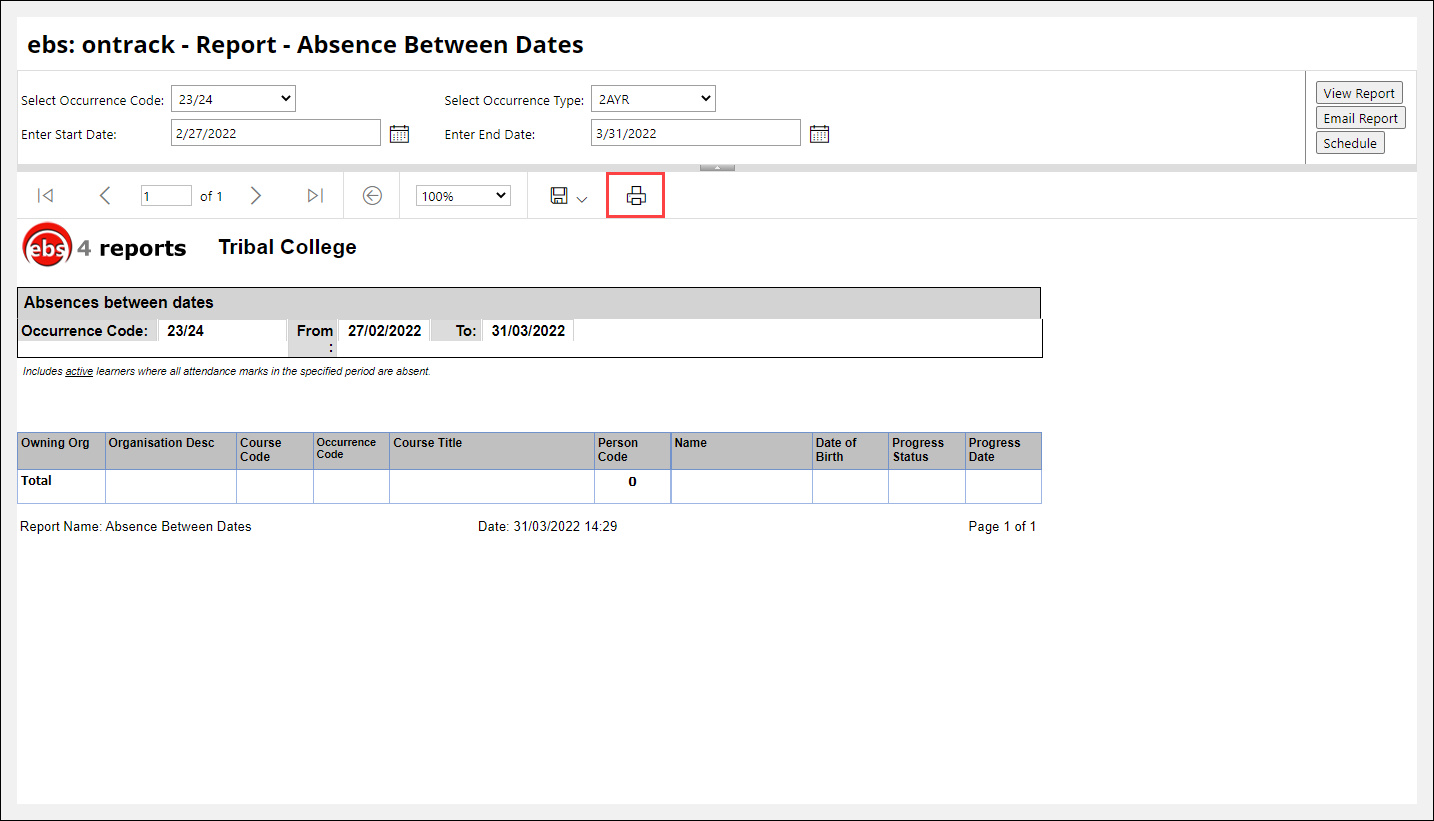
Open the relevant report. Refer to Find and run recently run reports or Find and run all reports in a folder structure for further information.
-
Click the Print button.
-
Select the print method from the Printer drop-down list.
-
Select any other print options.
-
Click Print.
To email a report:
-
Open the relevant report. Refer to Find and run recently run reports, Find and run all reports in a folder structure, Search for reports or Filter and view reports for further information.
-
Click the Email Report button.
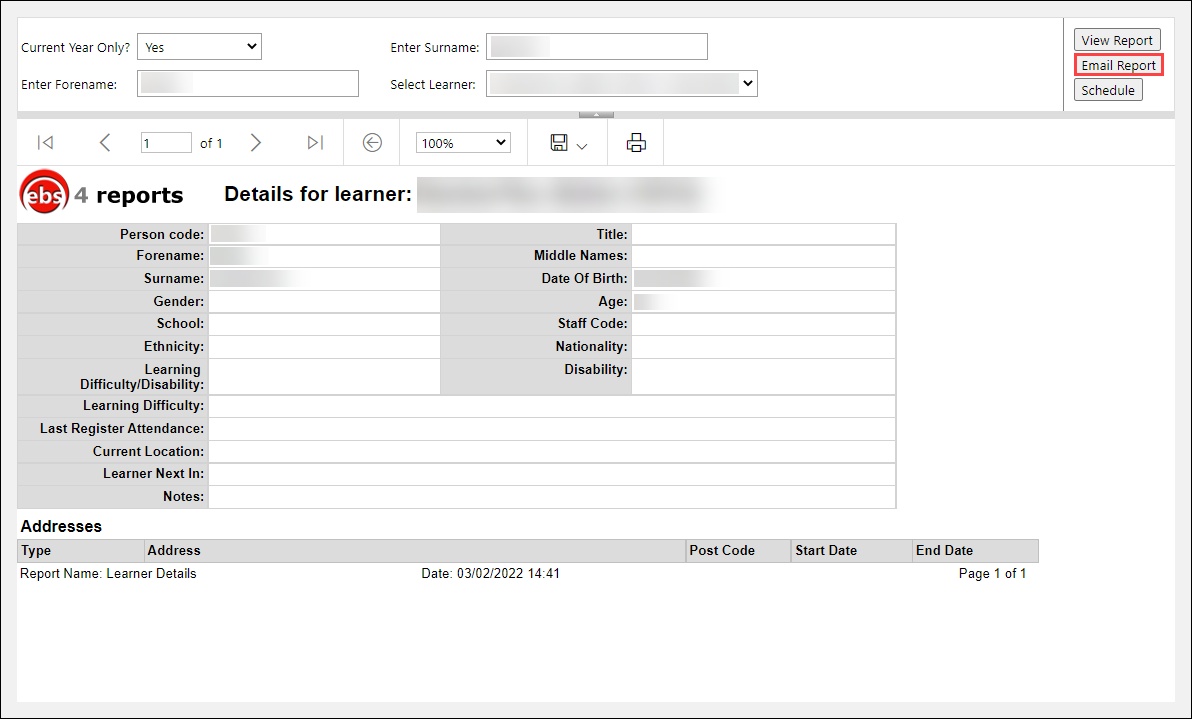
The Email Report screen is displayed.
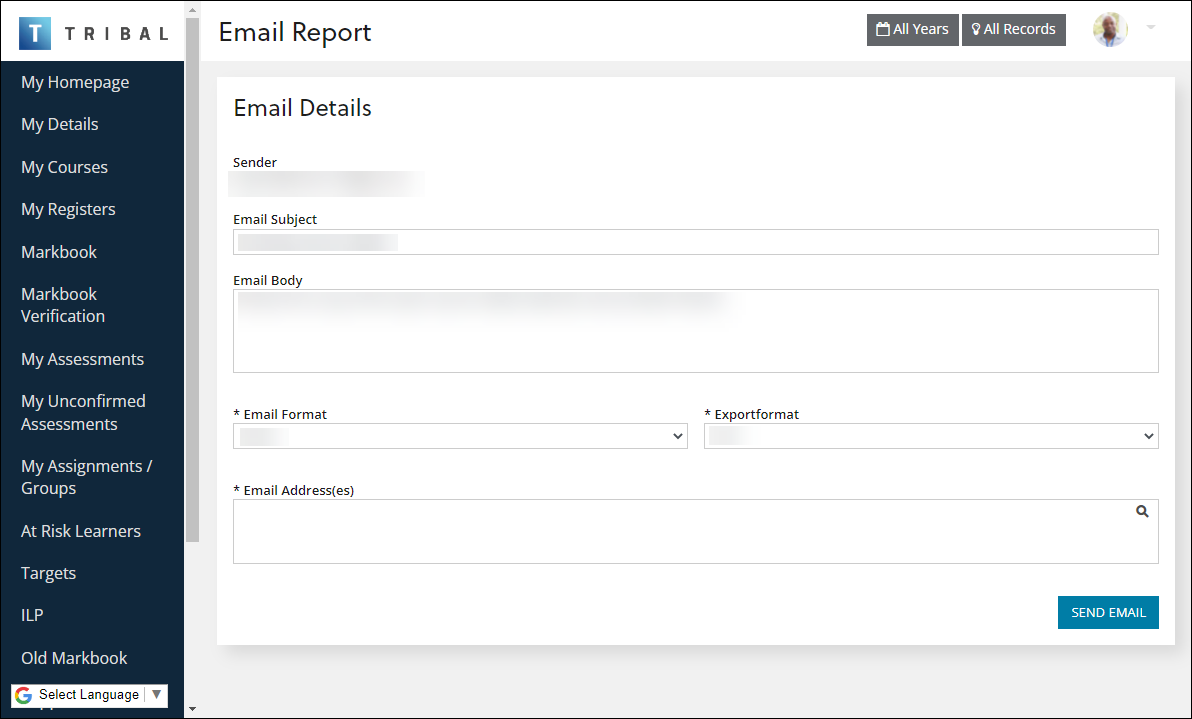
The fields on the Email Report screen are described in the following table.
| This field | Holds this information... |
|---|---|
| Sender | The sender, set to an appropriate email address. |
| Email Subject | The subject of the email. |
| Email Body | The body text of the email. |
| Email Format | The email format (for example: HTML, text and so on). |
| ExportFormat | The export format (for example: BMP, CSV and so on). |
| Email Address(es) | The recipient(s) of the email, set to an appropriate email address. |
-
Enter details in the relevant fields.
-
Click Send Email.
To schedule a report:
-
Open the relevant report. Refer to Find and run recently run reports, Find and run all reports in a folder structure, Search for reports or Filter and view reports for further information.
-
Click the Schedule button.
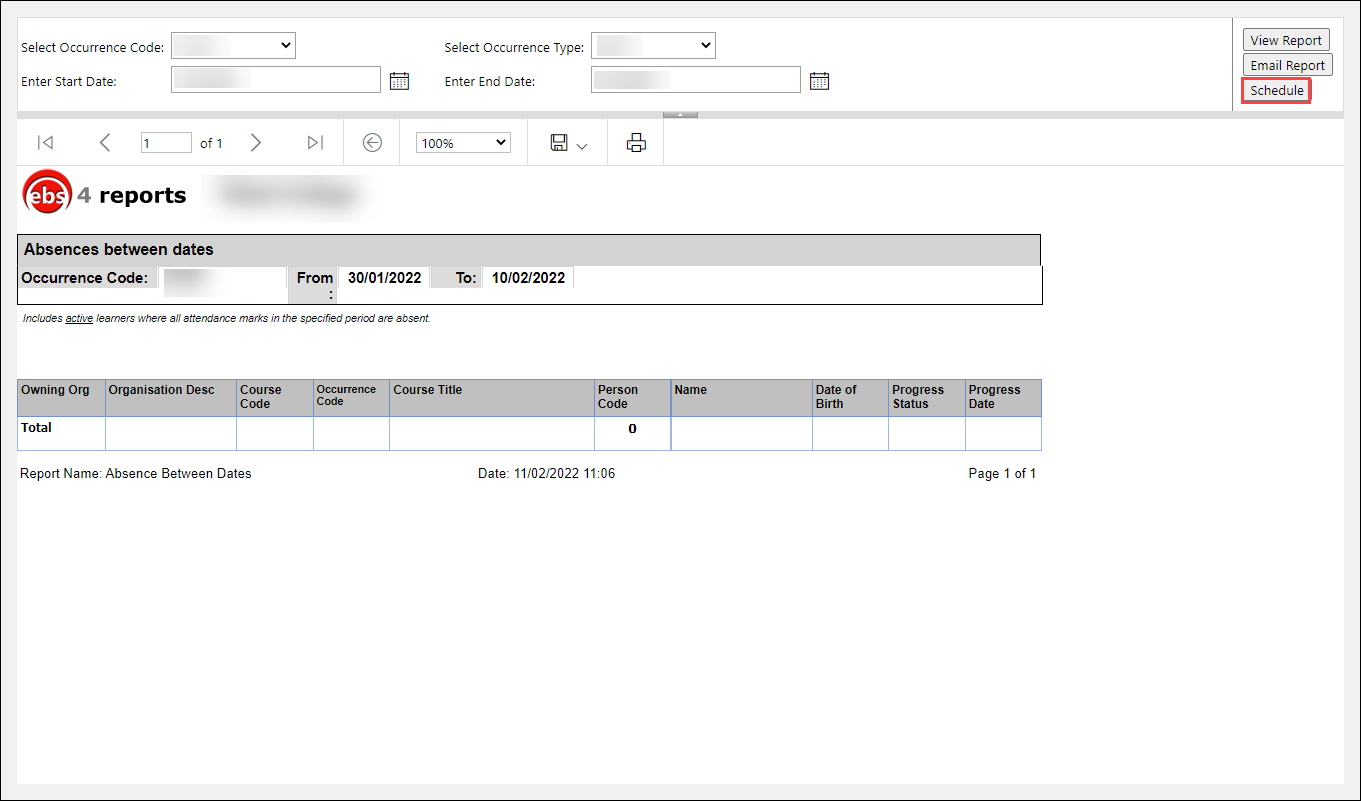
The Create Schedule screen is displayed.
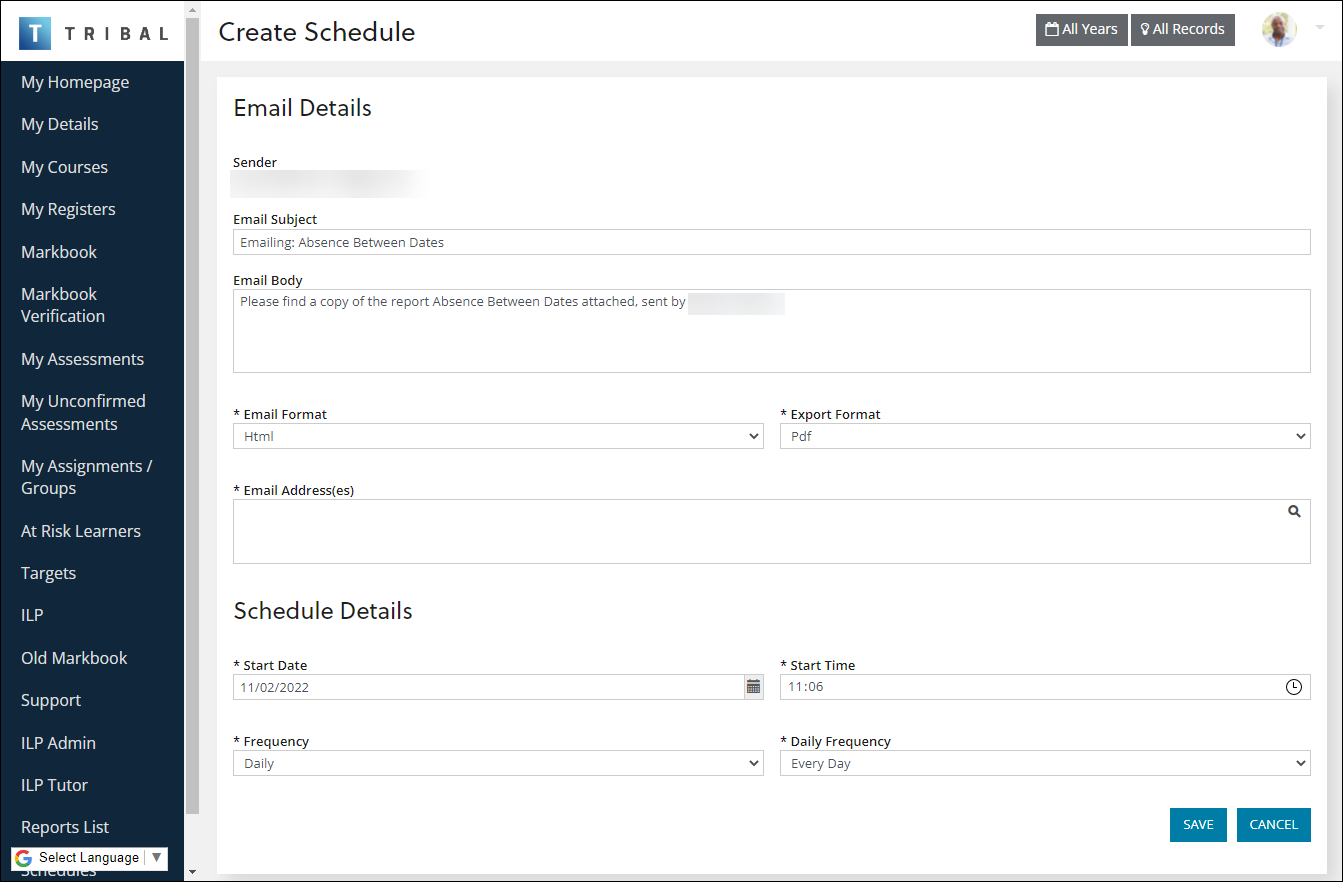
The fields on the Create Schedule screen are described in the following table.
| This field | Holds this information... |
|---|---|
| Sender | The sender, set to an appropriate email address. |
| Email Subject | The subject of the email. |
| Email Body | The body text of the email. |
| Email Format | The email format (for example: HTML, text and so on). |
| ExportFormat | The export format (for example: BMP, CSV and so on). |
| Email Address(es) | The recipient(s) of the email, set to an appropriate email address. |
| Start Date | The start date for the report schedule. Enter the start date for the schedule or click the Calendar button to display the calendar where you can select the required date. |
| Start Time | The start time for the report schedule. |
| Frequency | The frequency of the report schedule. Select from the drop-down list to schedule the report to run daily, weekly, monthly, or once. |
| Daily Frequency | The daily frequency of the report schedule. Select from the drop-down list to schedule the report to run every day, weekdays or every 'x' days. |
-
Enter details in the relevant fields.
-
Click Save.
The schedule is added to the Schedules screen.

